Monday, November 12, 2012

'Give Thanks' Pinterest Inspired Mantel

Two posts in one day! I am on a roll. I have been pouting for awhile about not having a mantel. I keep finding all these cool ideas from Pinterest of how to decorate for the holidays or anytime!

Well I decided to make my own 'mantel'. We have a small wall opposite of our dining room and between our living room and entry way.  I have a large photo over a bookshelf on that wall since we first moved in and never thought of moving it. Well after looking at the bookshelf and the perfect placement of the wall, I decided I could make the top of it my makeshift mantel!

Well the timing couldn't be better, so I am starting with a Thanksgiving/Fall theme! A Diamond in the Stuff has a whole post of themed mantel decorations. I was inspired by her Thanksgiving one and have wanted to make a word pennant for awhile!


I had some issues originally with this. I mocked up my own pennants with letters through a Word document, however my printer wasn't liking my thick paper.  So I ended up making them from templates and I liked these smaller sized ones (3in x 4in)

The cardstock I used was sticker paper, so I just stuck them on the green backing paper.

I printed letters on regular printer paper and used a pencil to trace them onto the cardstock. I filled in the imprint made from the pencil with perm. marker to write the letters.

I used brown yarn to attach the letters together.


Use hot glue to attach the pennants onto the yarn.


I simply taped the yarn to the back on the frame (where it wouldn't be seen) and that is how I hung the pennants to the empty frame.  I had been saving this frame for something and I like how it works here. It is rustic and faux-wood (sadly not real wood).


I cannot wait to dress up my mantel for the next holiday! Hope you enjoy A Diamond in the Stuff and get some inspiration to decorate your own wall or mantel!

Cooking My Way Through Pinterest: Days 1 & 2

So I recently posted to my FB page how I had pinned so many good things and I just wanted to make them all. Well without even realizing it I have been doing so. I decided to keep track of it and let you know if the recipe is worth trying!

A lot of these recipes have come from Two Peas & Their Pod. I recently pinned something from them and decided to explore the whole site. Needless to say, I came out with a LOT of recipes she either makes or links to on her site!


I actually made 90% of this on Saturday night to take to a friends. Long story short I got sick and put the baking on hold. The bites are alright, but I had enough dough to actually shape one more pretzel. I buttered it out of the oven and rolled it in cinnamon sugar. Mmm! And if you think pretzels sound too challenging to make on your own, you are wrong! I have used this recipe and another and both are easy and yummy! (Especially with cheese sauce!

Strawberry Nutella Milkshake
This milkshake is pretty good! I wanted a quick treat after dinner last night. I would use less Nutella than she calls for. Maybe just a spoonful. But it was good!

Chocolate Chip Muffins
Woke up before Hubby this morning and wanted to make breakfast. Found this recipe for C.C. muffins yesterday and decided after reading the good reviews to put it to the test. It was really easy to make. The longest part for me was melting the butter (we have no microwave, yes honestly!) They could definitely make more than 12 though. Probably 16 muffins if you only filled them 3/4 full! I would definitely recommend these. I froze our leftovers for another morning.

Bandito Chili Dogs
I am about to put this in the Crock Pot for dinner tonight, but this is actually a recipe my mom has been making for years! I love hot dogs in any form, especially chili dogs! How can you go wrong with chili, green chilies, onions, and fritos on your dog?!  I am making a double batch tonight with some hot chili/chilies and am going to freeze half for another quick meal!


*Yesterday for dinner I also made homemade Tomato Soup from stewed tomatoes a friend and I canned in September. The recipe is from no other than Picky-Palate, but the recipe is only found in her cookbook, which I HIGHLY recommend!

Thursday, November 8, 2012

Cleaning Schedule

Some friends and I have been talking lately about cleaning schedules and a month or so ago I finally made up one that fits for my family and our house.

It was really easy to make. I used PhotoShop, but you could also to it on Microsoft Word.  I found lots of lists online of things that need to be cleaned when and compiled it into my own. I have Weekly and Monthly on my list. I made a light chevron background on it for it to be 'pretty' but it is just words over the background printed on regular printer paper.

I placed it in a cute frame and voila! Ready to be checked off!


I had no color ink, which is why I printed in black and white ;)

Front Porch Christmas Tree

I have seen variations of this all over Pinterest, most without tutorials. I decided to take a stab at it.  Surprisingly really easy. This only cost me about $10. I got the cage for free from a neighbor and already had the fishing line. You could also use lights you may already have. I didn't want to dig mine out so I bought a couple shorts strands. It also only took me about 10-15 minutes to make!

You Will Need:
*Large (~3ft) Tomato Cage
*2- 18ft Green garland
*2-50 count lights
*Clear fishing line
*Scissors

Here are your supplies. I actually only used 2 of the strands of lights, not 3. And you can substitute something else for the fishing line, like green thread. You just don't want to notice it.

DO NOT USE THREAD FOR THIS...Use a stronger tie (zip-tie if you have one) to close up the top of the tomato cage.

Start at the top with the garland and begin wrapping around the cage. When you run out of the first strand of garland, tie the other to the end with your line. Space the garland out and wrap the whole cage first then actually attach them. Attach at the top and on all the main 'rings' with fishing line tot he garland stays put.

Go back through and cut all the fishing line.
 

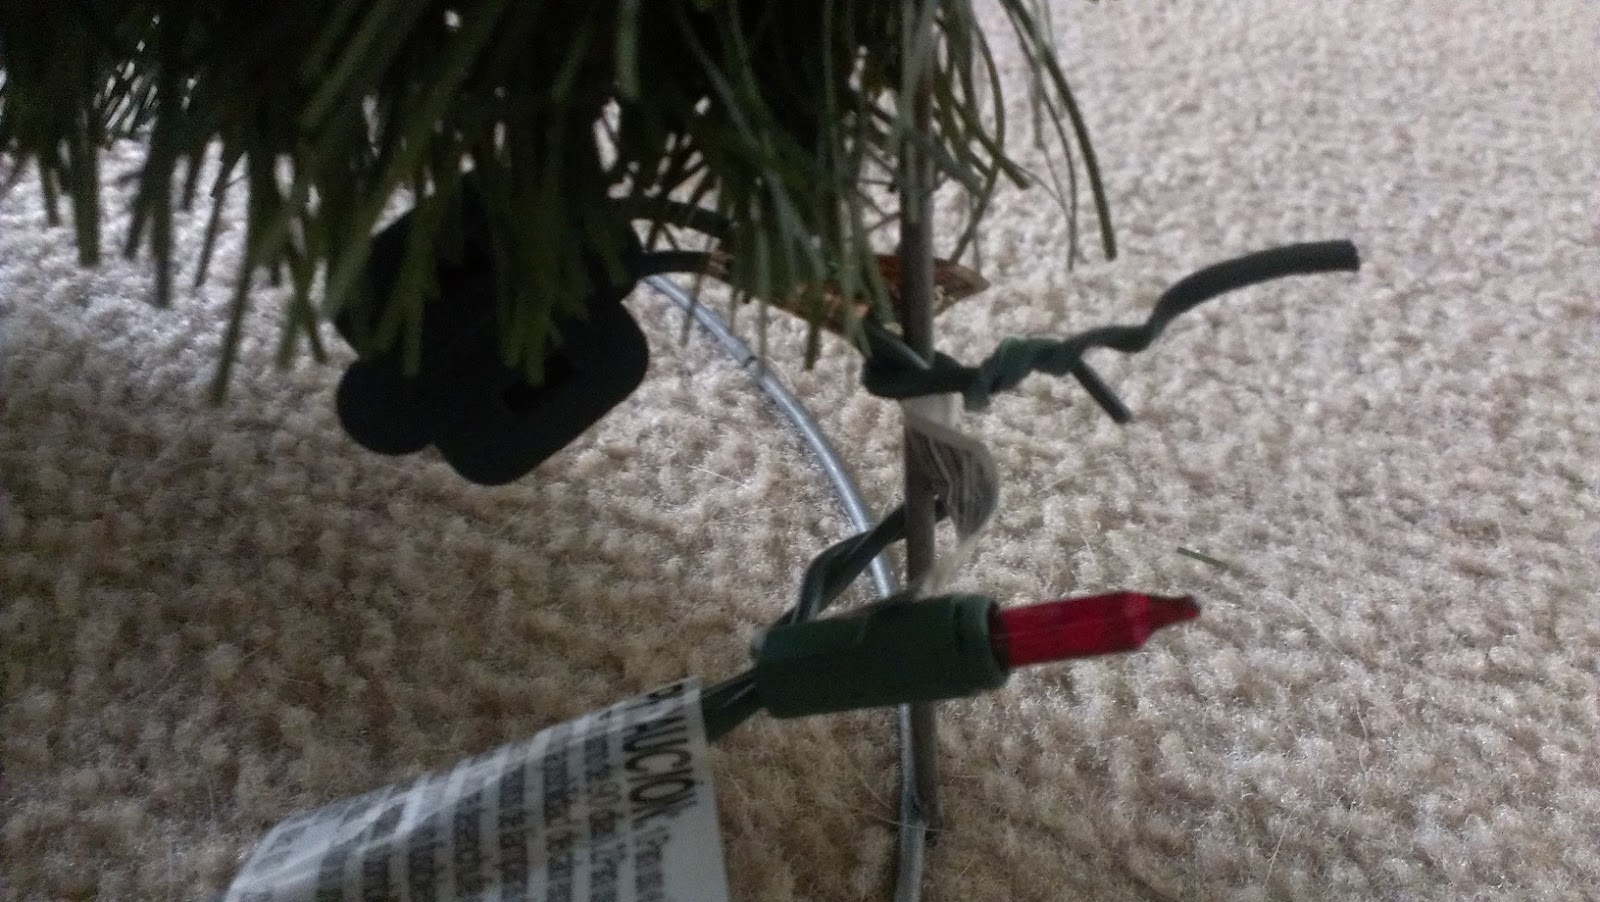
Start at the bottom with the plug end of the lights and wrap around the whole tree.  Where the second strand of lights connect, hide the tags and plug in with the garland.
My lights came bound with twist ties so I used a couple of these to attach the lights at the bottom and top of the tree. 


Love this! Makes me so excited to decorate for real! I am either going to place the tree on/in a planter on the front porch or making an impromtu 'tree skirt' so you don't see the bottom of the cage. I also want to hang a couple ornaments of candy canes on it too!

Enjoy!


Monday, October 22, 2012

DIY Halloween Costume!

So this Halloween I dropped the ball a little bit and put off deciding on Halloween costumes. Usually I like to come up with a couple costume, but I know hubby just does it to make me happy so I decided on my own this year... [Violet] Incredible! Yes, the Disney Character! And I didn't want to search for a shirt or buy a whole costume anywhere.

 You will need:
-Red t-shirt (I prefer fitted)
-printed logo
-White, yellow, orange, and black Acrylic or fabric paint
-Paint brushes
-Sewing pins
-Sewing Tracing wheel

 I wouldn't recommend the brushes above. I didn't want to spend more on brushes just for this and I got what I paid for :(

 
First, I found a logo from Google Images and printed it in grayscale. No need to waste ink. Cut around the logo and pin it on your shirt. Make sure it is centered.

(Sorry for the blurry photo) Use the tracing wheel to mark the edge of the logo and where the different color sections start. Press hard enough to see the marks on the shirt.


Look closely and you can see the markings on the shirt.


Start painting! I used a small brush the stay within the lines of the logo. 


The paint brushes left a splotchy cover. I went over it with a foam brush for much better coverage.


I used a small foam brush for touch-ups.
 

Voila! I think it is pretty good!

The whole costume includes red tights, black shorts, the shirt and black face make-up for the mask.

Hope you get inspired by this just in time for Halloween!


Thursday, October 4, 2012

Quick Pumpkin Chocolate Chip Bars

So I found this recipe a couple days ago and it sounds pretty good. I like most pumpkin things and since it is officially October, I am taking advantage of making them without people thinking I am a freak.

Anyways, I did some math with the measurements in her recipe. (The average cups in the oz of brownie mix and the average cups in the oz of pumpkin) I found out the it is 1 parts pumpkin to 1 1/3 parts brownie mix.

So in my cupboard I happen to have a baggie of partial cake mix and a partial can of pumpkin in my fridge. I am that person!  So I whipped together some pumpkin chocolate chip bars today!

(I apologize for the mixed types of photos. I took the first with my phone, then my sister called and I used my computer for the rest)

I started out with 1 cup of pumpkin (not positive is pumpkin pie mix would work, but it should)


Add 1 1/3 cups of yellow cake mix. I did a heaping 1/3 cup (the actual ratio was 1:1.3333)


Mix, mix mix, until the cake mix is incorporated.
 

Just for fun I added a dash of cinnamon, cloves and ginger. I also added some chocolate chips. Eyeball it to your liking. I just emptied the little bit in the bottom of the bag. 


Grease a bread pan and put the dough in.
 

Spread it out as best you can, it will be thick and hard to spread. Bake @ 350 degrees for 20-25 minutes. A knife will come out MOSTLY clean. You want it to be a tiny bit doughy. Let sit for 5 minutes in pan. 

Cut and enjoy! I love the little extra that the mini chocolate chips give it. It doesn't take anything like yellow cake, but a good 'lighter' pumpkin taste! Hubby liked them and he's not huge on pumpkin.


You can make the proportions greater based off my ratio or do as Cookies and Cups did and use a box of cake mix for a can of pumpkin. I just liked being able to use the random amounts in my pantry. Enjoy!

Monday, October 1, 2012

Map Wall Art

A few of my friends have been really irritated that I posted about a new project but hadn't shared any details. Well loyal readers, here is that project!

As some of you already know, I am a military wife. I have always loved the artwork on Pinterest with a 'home' state or different states you have called home. This is a perfect way for us to display the places we have lived and loved!

Now, I do use a lot of Photoshop [Elements], but I think most of it can be done in Paint if you want to try your own! I am just very familiar with PS so it is my go-to for any editing. I am going to walk you through the whole process.


I started out with the regular school colored state maps. I originally was going a whole different way with this and was going to keep the colored map part.


 I used an eraser tool and a magnetic lasso tool to take the background from around both maps. Then I made a black border around the edge of each map with the paintbrush tool.


I was going to make the maps black on white, but then I remembered that our walls are cream colored and I wanted to reverse the colors to make them stand out more.  The hearts are a Font For Peas Font, Ellie Bellie. (Available for free at Kevin & Amanda) And the hearts are placed in the two cities David and I have lived in together. Found the quote from a google search. Love it! So fitting for us as a military family!

 
Once I got the prints how I liked them, I ordered them from Mpix.com. I highly recommend them for photos! The shipping is quick and if you sign up for emails, they have deals all the time!

I got them in 12x12 because those were the sizes of my canvases at home. I trimmed about 1/8 inch off each side.  Now grab some wax paper, a brush and your Mod Podge!

 Place your photo face down on the wax paper and cover the back with a thin layer of Mod Podge. (The The Sassy Pepper did this with photos and placed Mod Podge on the canvas to dry first.) I didn't do this step.
 
Use a towel to smooth out the canvas. I also flipped it over since the canvas isn't supported in the middle. Let dry for 20 minutes. When it has dried, carefully brush a thin layer of Mod Podge over the photo.

 
 Be sure to keep the Mod Podge thin and even over the photo. Let dry 20 minutes. I also did a second coat because my first wasn't quite even and you could tell.


Now again, originally I planned on leaving the edges white, but it didn't look finished at all. I used an acrylic black paint and foam brush to paint the edges of my photo canvases.


 This is not where I will keep them (I took down my other canvases so I could hang these for the photo) I love these and especially the quote. With moving from our home state and possible deployments, this quote hits it right on the head! <3

Enjoy!