You will need:
-1 box cake mix (used yellow)
-1/2 cup veg. oil
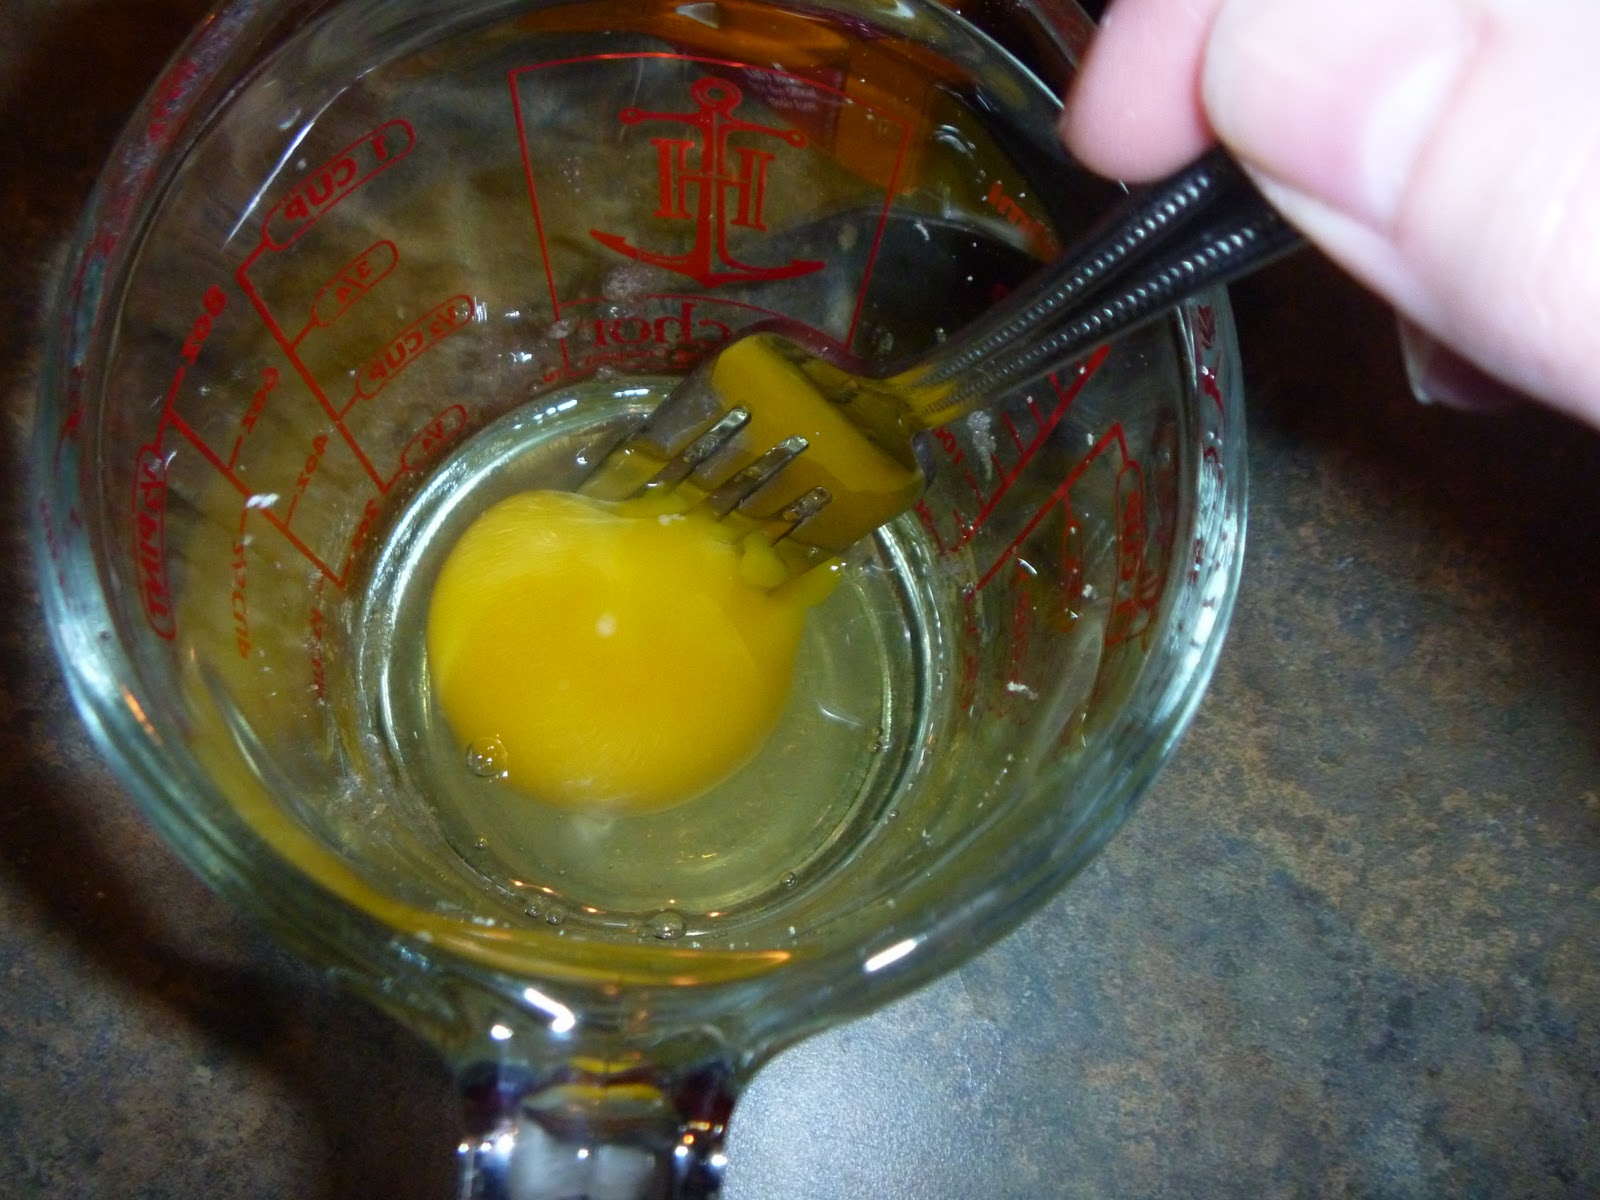
-2 eggs
-flour
*Chocolate chips/m&m's optional
Mix together all your ingredients until a dough forms. I added a little flour to these to make them a little less sticky. If you want add chocolate chips and m&m's. Or sprinkles!

Sprinkle some flour on a flat surface and work the dough flat, making sure it isn't sticking to the surface. Using your choice cookie cutters.

Press, wiggle a bit...

And pull off. Place your cookies into a greased pan and into a 350 degree oven. They cook 5-10 minutes.

I didn't actually set a timer, I just pulled them out when they turned golden brown on the edges.

I liked this one, looked like he was waving!

And there you go! A cake batter/chocolate chip cookie! Enjoy!