Sunday, May 27, 2012

Fabric Wall Decor

I am pretty proud about this new project I whipped up today! I've vaguely seen it around Pinterest, but this is one thing I actually tackled without checking out somebody else's tutorial! :)  I was wandering around JoAnn's Fabric today. They were having a Memorial Day sale, including a Military discount! (oh yeah!) So I knew I had to walk out with some project to do. I spent a long time picking out colors and patterns so I hope my husband approves!

You will need:

  • Fabric of your choice
  • White fabric
  • Embroidery Hoops (varying sizes) 
  • Hot glue gun
  • Scissors
  • Iron
  • Spray Paint (optional)

Here is the lineup. I choose 3 out of 4 of my fabric choices from the small pre-cut rectangles at joanns. And all I had was chalkboard paint, but I just really needed black.


Spray the outer rings of the hoops. (You could always leave them alone, but all the wood in our living room is dark so..)

 
You will need to iron the fabric. Take your time and use a spray bottle to make it easier.


I put white in the each hoop first so it wasn't see through. Only attach to the center hoop. I stretched it and hot glued it onto the rim. Make sure you are pulling it tight and evenly.


Cut off the excess fabric after it has been glued around.


Cover the remaining inner rings with the white fabric. After the hoops have dried you are ready to assemble them.

Place the fabric over the inner ring and attach the outer ring the hold it in place. Pull the fabric tight around it.

Flip it over and cut off the excess. Leave a little edge to glue down around the inner ring.
Repeat with the other hoops.


& VOILA! I love how the black looks and it matched our living room furniture. Now I have to find a spot to hang them! Will post a photo when they are up later!

This project has so many possibilities and it is super cheap! The hoops were $1.50 each, the fabric squares were $1.50 and I already had the hot glue and the spray paint. I think it ended up being about $10-$12 dollars! And they will hang on straight pins I think! :)


FINALLY GOT THEM ON THE WALL THIS MONTH:

Strawberry Lemonade Bars

I went to the Carlsbad Farmers Market yesterday with a friend. I hadn't been to one around here and it was a great place to find all kinds of fruits, veggies, and homemade products. Anyways, we left with lots of strawberries and I had a fridge full of lemons. I found this recipe and decided to give it a go!


Start by mixing the butter, sugar, flour and salt to make the crust dough. I used melted butter to make it easier. Press it down in the bottom of a greased 9x13 pan. (I greased with this fabulous secret). Bake for 16-18 minutes at 350 degrees.

 
Cut your strawberries to puree them. I took off most the the skin/seeds because I didn't have a way to strain the puree. Add the puree to the lemon juice and zest.


Add the eggs and remaining ingredients to the fruit. Mix well. I used the 'whip' attachment for my mixer.


Pour the filling onto the warm crust and bake another 23-25 minutes. The filling will the set when it is done.

Let cool completely before cutting into them. Refrigerate. I recommend serving them cold.


Mm, they are tangy, but still sweet! Definitely refreshing for a hot day!

Good job K&K test kitchens! Love the recipe!


Sunday, April 22, 2012

Easy Chicken 'Cordon Bleu'

I haven't ever had real Chicken Cordon Bleu, but this I know the basic components of the recipe. There are a couple other improvisations floating around Pinterest, and I threw this one together. 

You will need:
  • Thawed, boneless skinless chicken breast
  • Seasonings
  • Cheese (of your choice)
  • Ham

Flatten the chicken breast. We don't have a meat mallet, so I was classy and used wax paper and a hammer. It worked!


I used Provolone Mozzarella cheese, which is a delicious combination! I also got thick-cut deli ham. The seasonings are a basic combination in my kitchen: pepper, salt, garlic and dill.

Layer cheese and ham on each chicken breast.

Fold in half and season both sides of the chicken. Bake at 350 degrees for 30-45 minutes, or until they are not longer pink inside.


Just for the yummy factor, we added another piece of cheese and ham on top and let it melt before eating! Let me tell you it was pretty good! Double meats is okay in my book! =)


Pulled Pork Tacos

I have an obsession with making meals in my crock pot. And for good reason. How else can you let something cook while you work and come home to a delicious meal? 

You will need:
  • Pork tenderloin (mine was 1.2 lbs and southwest peppercorn seasoned)
  • Garlic/onion
  • 1/4- 1/2 cup Salsa
  • Taco seasoning packet
  • Beef broth


I had some leftover elephant garlic, so I used that for this recipe. It has flavors similar to garlic, but is in the onion family. Chop it finely.


Here are the rest of the ingredients. I used beef broth, but you can also use water. [Do they make pork broth?]


Mix the salsa and broth with the garlic and onion. You can use as little or as much salsa as you want.

Mix the taco seasoning with the rest. If a whole packet is too much for your taste, use less.

Place the pork in the crock pot. Pour the mixture over the top. Cook on low for 7-8 hours.

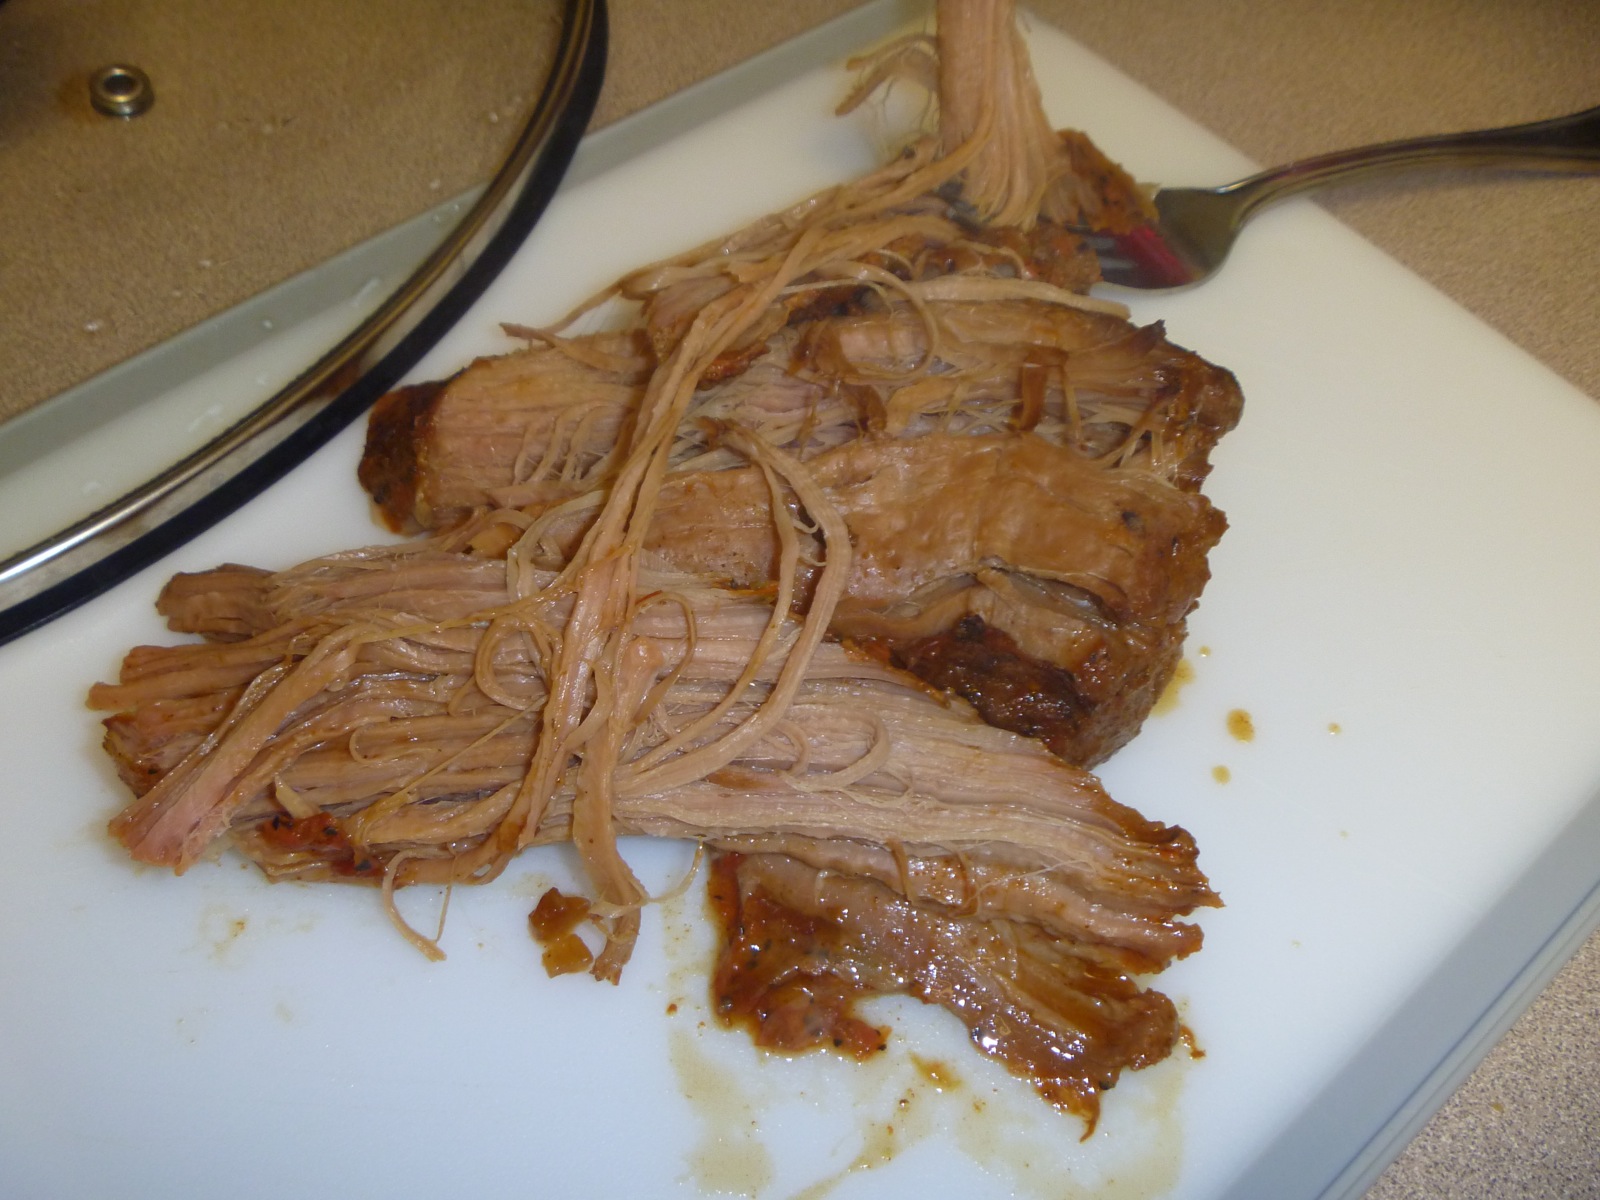
About 30 minutes before eating, take out the tenderloin and shred the meat. You will know if it has cooked long enough, because it will shred easily. Place the meat back in the sauce for 30 minutes. To make tacos just scoop out the meat and place in tortillas with any fixings you like!

This meat is so juicy and tender! I love coming home from work to meat that just falls apart! =)

Grilled Pineapple

This dessert is delicious, not too mention more healthy than the average. Skinny Taste is where I found the recipe and she grilled her pineapple in 'burgers'. We cut it up and skewered it. Either way would be great!

You will need:
  • Fresh Pineapple
  • 1 tsp Cinnamon
  • 2 tsbp Honey
  • juice or 1/2 or 1 Lime
  • 1/2 tsp Cloves
  • Skewers (soaked in water)

Cut the edges off your pineapple. Then cut in slices around the core and cut those slices into chunks.
Place the chunk into a bowl or plastic bag and add the rest of the ingredients. Let sit in the marinade for 30 minutes to a couple hours.

Skewer the chunks on wooded skewers that have been soaked in water.

Grill them up. Be sure to flip them.

Eat straight off the skewer or with some vanilla ice cream! Mmm!


DIY Wall Letters

I made these for my house a couple months ago. They were really easy and look great hanging in our kitchen. You can do any size, font, and fabric you want!

You will need:

  • Printed 'actual size' letters
  • Cardboard (ANYTHING)
  • Hot glue gun
  • Hot glue sticks
  • Fabric
  • Straight pins
Start by printing out your letters in the size you want. They could be bigger than a page size, but that would take some work on your part. Cut out the letters.

When I said any cardboard I meant it. We just moved it, so I used lots of random boxes. 

Pin your letter(s) to the cardboard and trace then. Then use an ex-acto or scissors to cut the letters out.


Here are the letters for my kitchen. Loving the font. Check out Kevin & Amanda for beautiful free downloadable fonts!

Take your letter and lay it on the fabric. Cut out the fabric from around the letter, leaving 2-3 inches extra all around.

Place glue on the front side of the letter. Place this side on on the wrong-side of the fabric. Glue and pull the fabric tight all around the letter. Make cuts in the fabric to make the strips fit correctly.

Voila! And the back! 


Loving them!


Now, hanging is the tricky part. I rigged up a folded paperclip and hot glued it on the back of the letters to make hooks. Then I hung the letters on simple straight pins in the wall. If you have any questions or suggestions please let me know! <3